Getting Started
This chapter is divided into two subsections. In the first, we will configure an email account through which SerialMailer can send emails. The second part will focus on how to send a personalized newsletter to multiple recipients.
Let’s start by opening SerialMailer via a double-click on its icon in your Applications folder.
Configuring SerialMailer
To set up SerialMailer, open its preferences through the SerialMailer menu at the top of the screen.

Since we haven’t set up any accounts yet, the account list is empty. We can add an account by clicking on the + button underneath the list and choosing New Email Account. This will bring up a screen where we can either select a well-known email provider or choose to configure the account manually.

If you choose one of the well-known email providers, you will only need to enter your name, username, and password. The manual configuration will first try to guess the correct account settings based on your email address and then ask you for further details in the next step.
After you complete these steps, your account will appear in the accounts list and is ready to be used for sending your first email with SerialMailer.
You can find examples for common email accounts in the Account Setup Examples section.
Your First Newsletter
After opening SerialMailer, the first window you see is Recipient Lists. This window shows all your recipient lists, including those from the Contacts application (if they are not visible, make sure to give SerialMailer permission to access your contacts).

Creating a new email
The quickest way to start a new email is to select one of the lists and press the New Mail button at the top. This will create a new email with a copy of all the recipients in the selected list.
If you don’t have a list ready, you can press the New Mail button without selecting a list. This will create an empty mail document where you can add recipients manually.
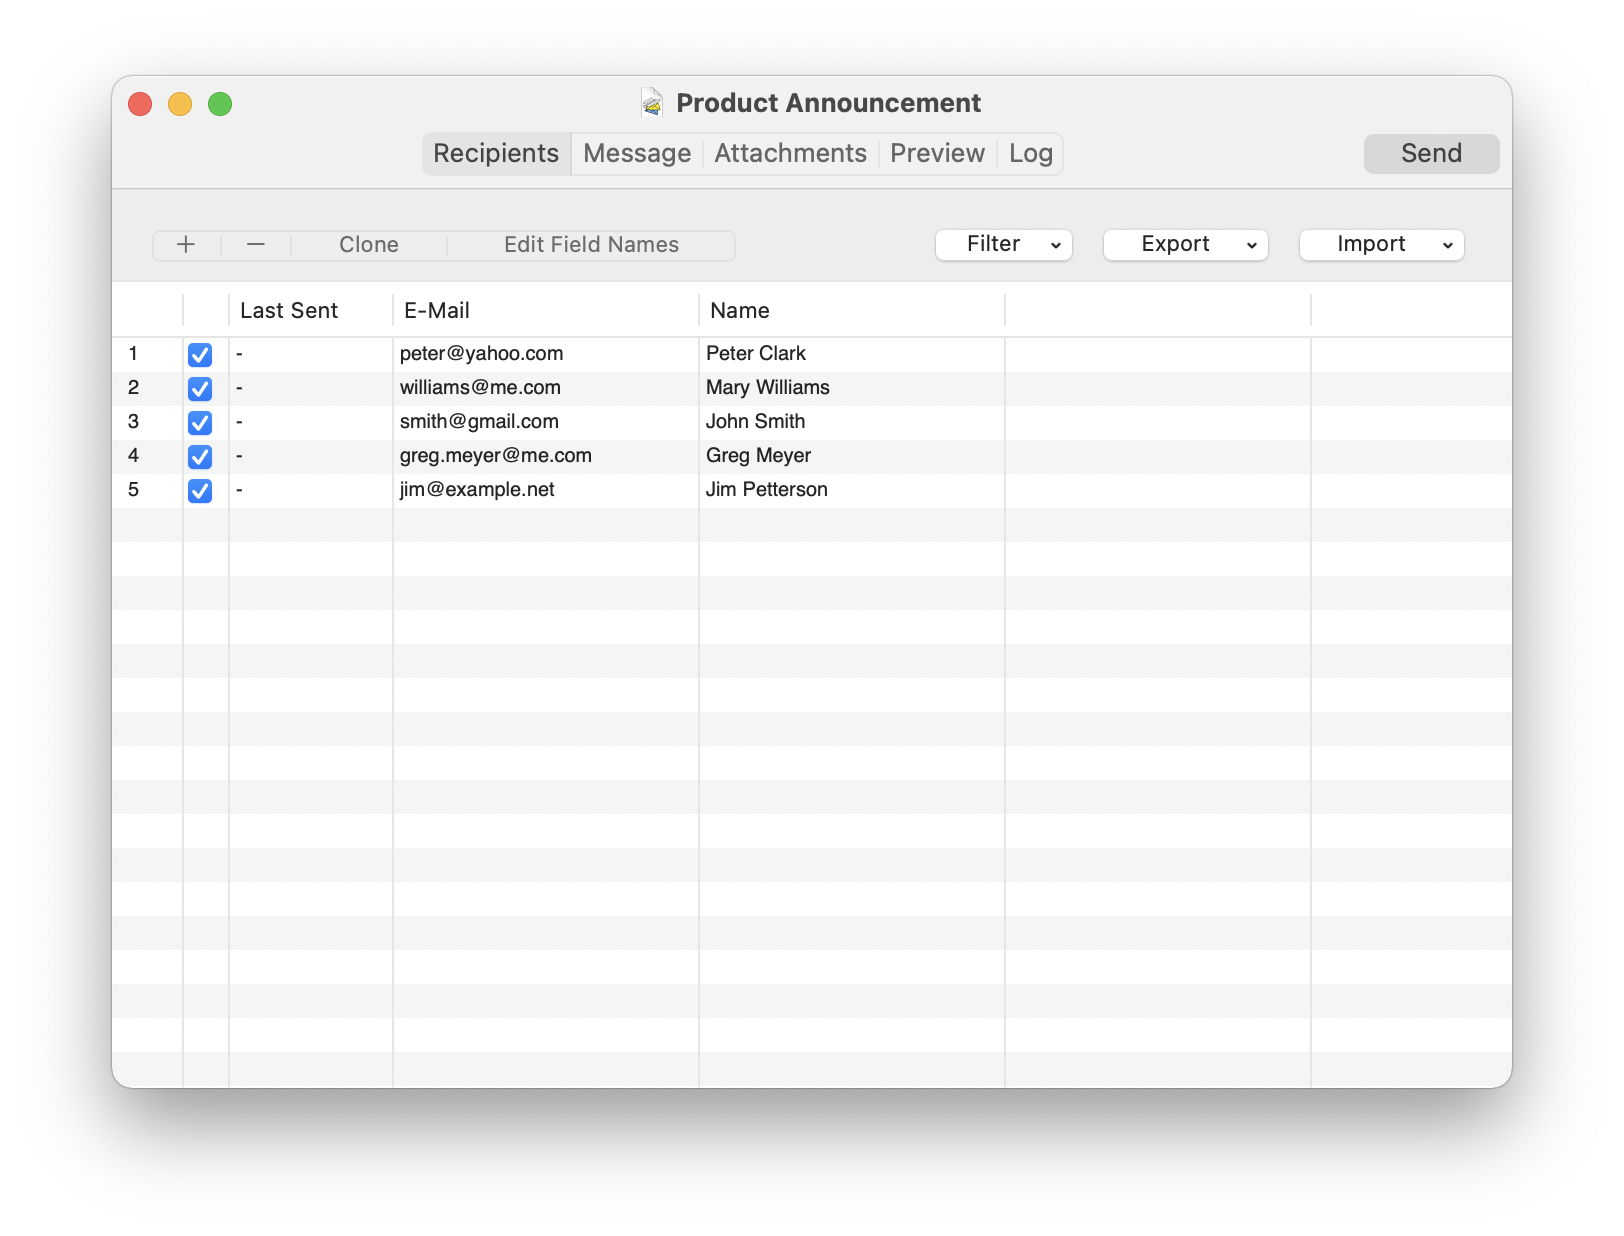
Use the + and - buttons at the top to add or remove entries in the recipient list.
Each column represents one field that can later be inserted into the message. The name of the field is shown in the header of each column.
Editing the message
Once your recipient list is ready, you can move on to the Message section where you can compose your email.
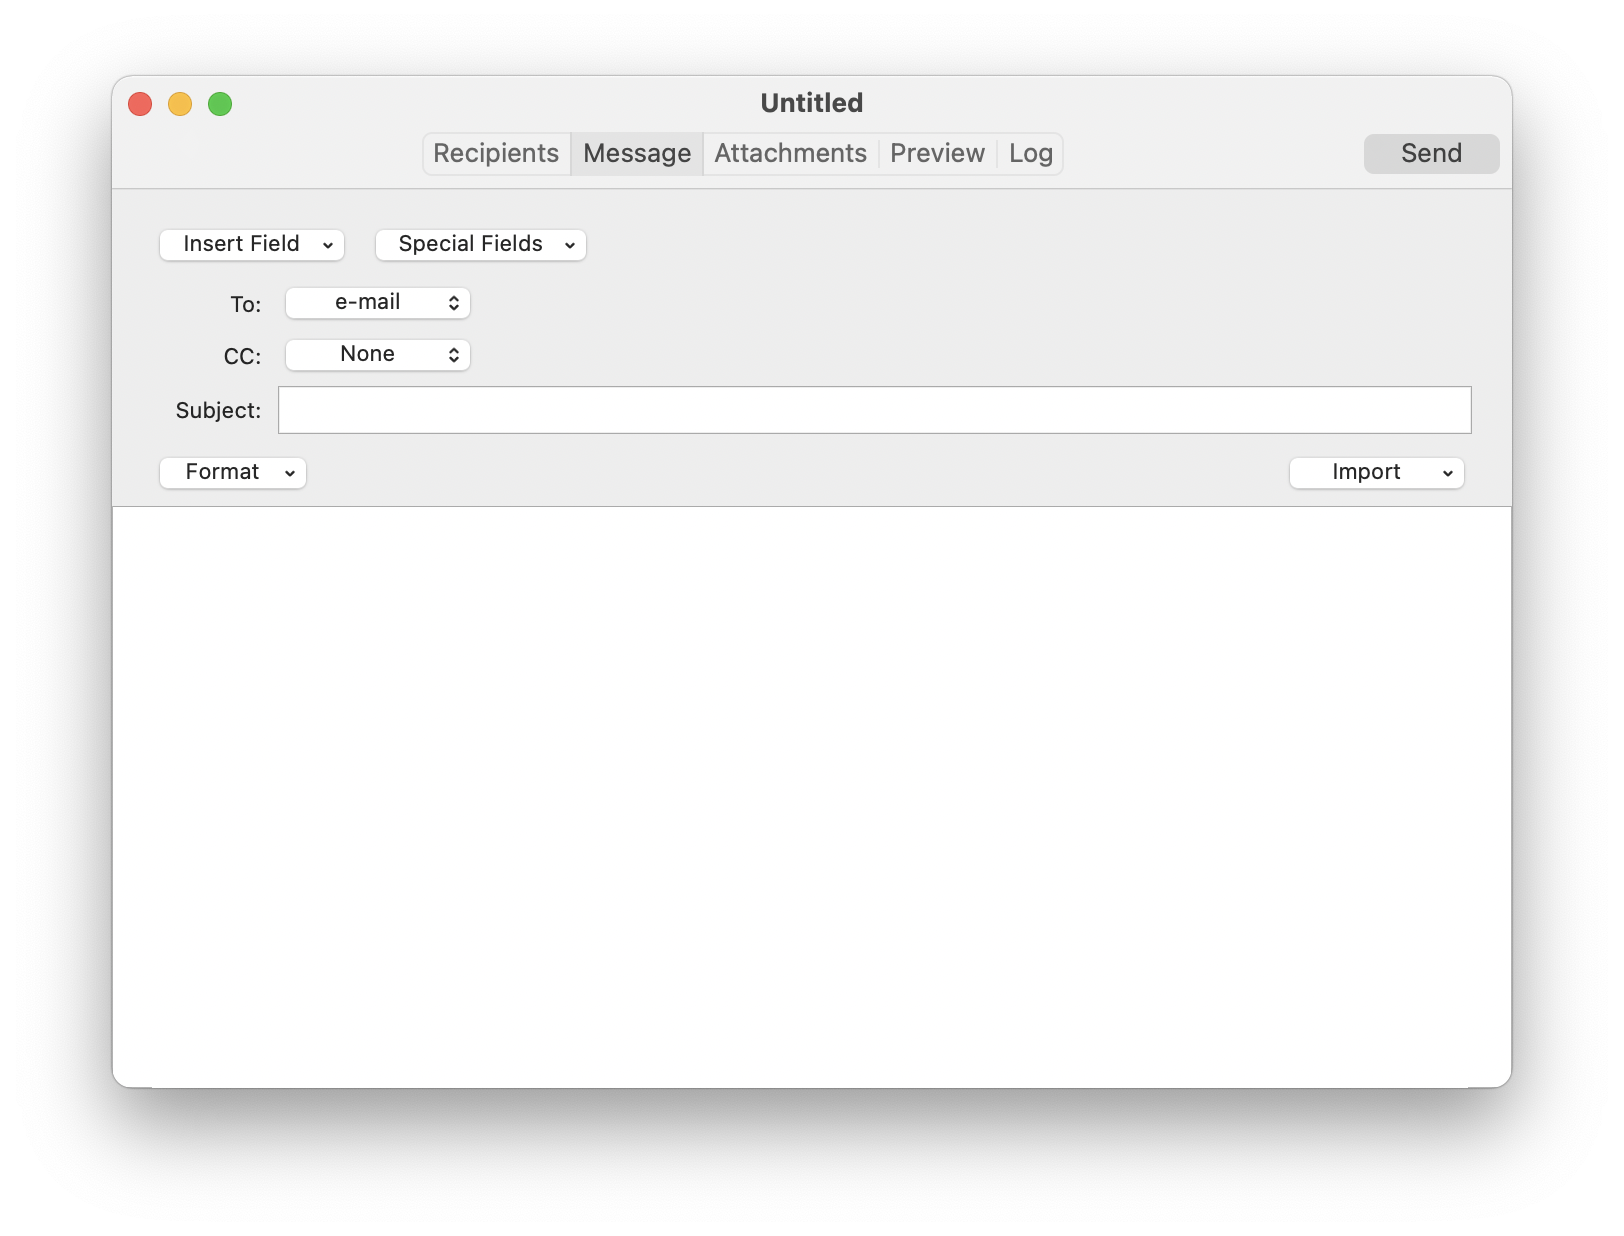
At the top, you see the Insert Field and Insert Special Fields menus through which you can insert fields from the recipients list into the subject line as well as the main message body.
In the To menu, you can select which column to use for the recipient’s email address. You can also choose Multiple and enter a comma-separated list of addresses (including fields).
To make use of text formatting (images, different fonts, etc.), make sure that Formatted Text is selected from the Format menu below the subject line. You can then enter text like the example below.

Click on an image in the editor to see further formatting options. You can also use the Format menu from the main menu bar at the top, which provides additional options like inserting lists.
Preview the email
Since this is a quick start guide, let’s skip the Attachments section and go straight to the preview.

Here you can make sure that the final message looks as expected. Use the < and > buttons at the top to switch between recipients.
Send
Once you are satisfied with everything, you can send your email by pressing the Send button at the top of the window. This will open the Send Window where you can select which email account to use and if a copy of each email should be sent to a common address (BCC).

Since we only configured one account, you can just press the Send button and SerialMailer will start creating and sending the emails for each recipient.
The log will show a note for each email that was sent successfully.
Make sure to save your email through the File > Save menu if you want to access the recipient list or the log at a later time.